How To install a BNC in an Altoids Tin
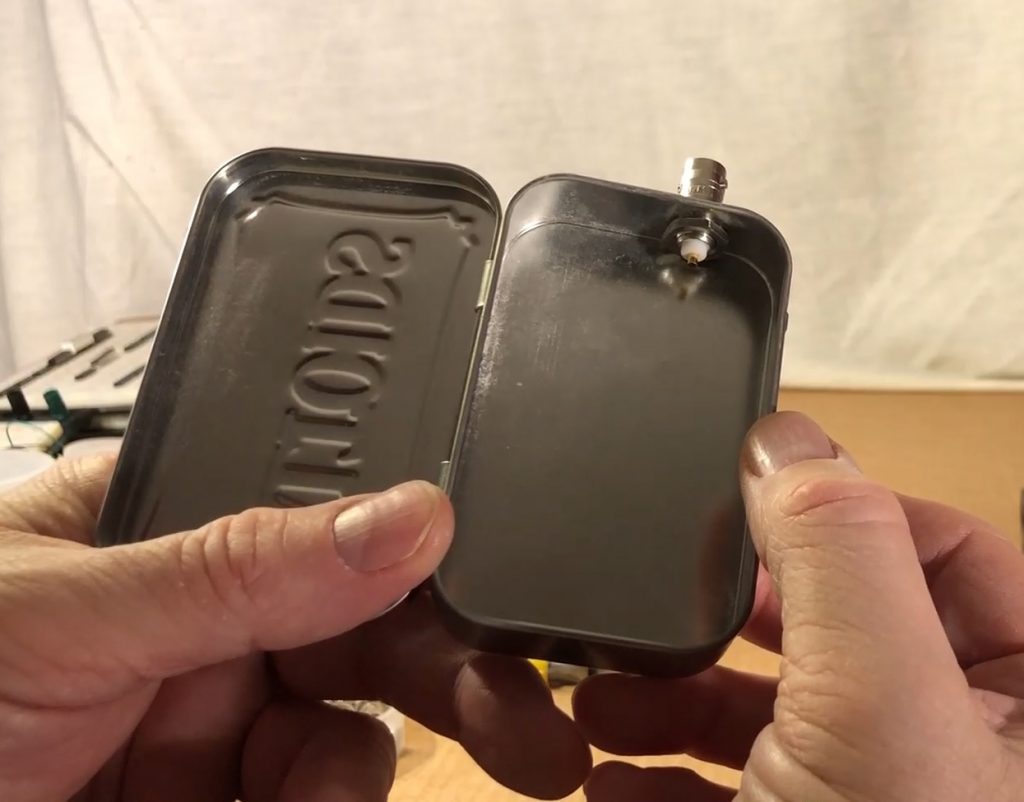
I use Altoids Tins to hold most of my small oscillators that I build and I install a BNC connection in the side of the Altoids tin to output the signal
The BNC mounts nicely in the Altoids Tin if mounted correctly, allowing the lid to close, so I developed a process for mounting the BNC connector that works every time
Tools/parts Need
1 – Altoids Tin
2 – Panel Mount BNC with Nut
3 – Step Drill bit (narrower is better, but any will do)
4 – Drill for Step Drill, I prefer cordless but any will do
5 – Center Punch
6 – Small utility file
7 – plastic Electrical Tape to insulate the inside of the Altoids Tin
I started the process by closing the Altoids Lid and placing a mark ½ between the bottom of the lid rim and the bottom of the case, and far enough away from the corners to allow the BNC to mount flush
I prefer to mount my BNC in the side of the Altoids Tin, but any side will work
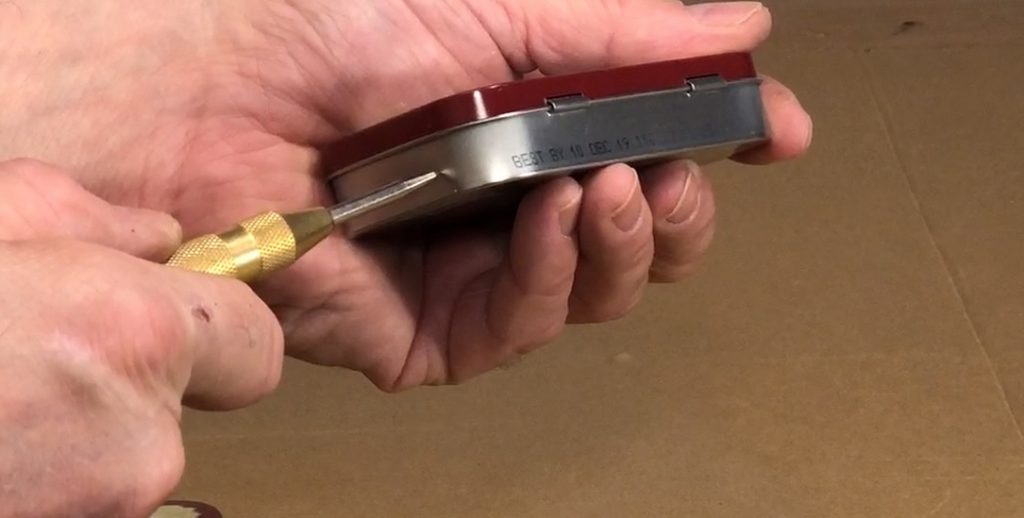
Center Punch the Tin to ensure the drill will not drift
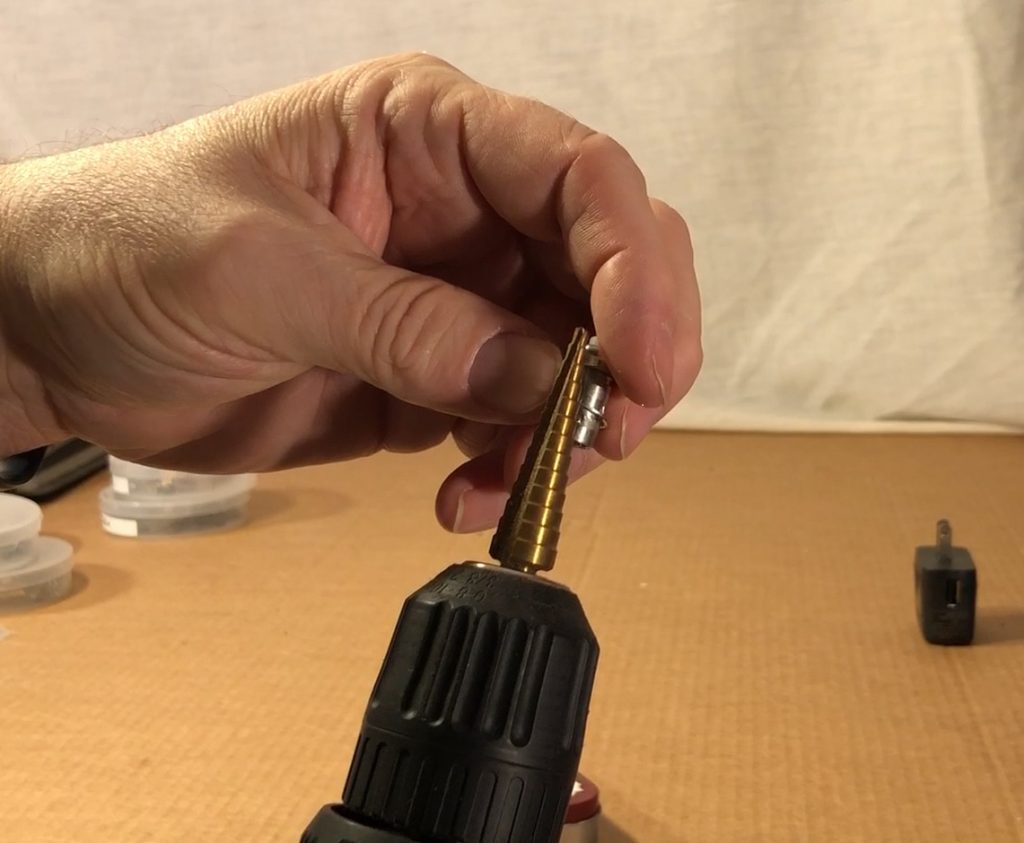
Use the step drill to drill a hole until you hit the 3/8 step
Insert the BNC into the hole from the outside
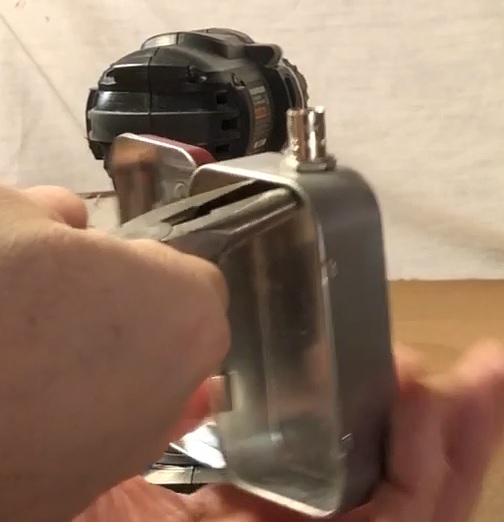
Install the nut on the inside (back) of the BNC and tighten
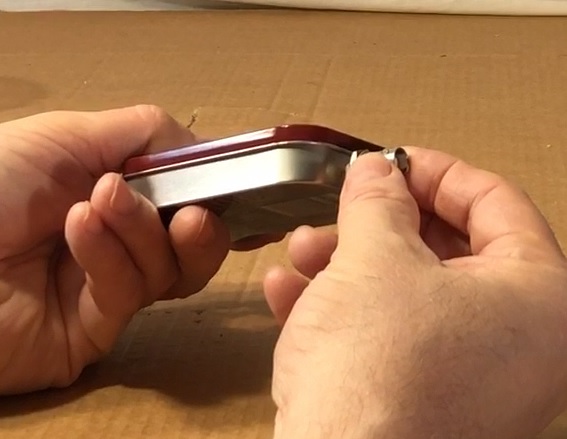
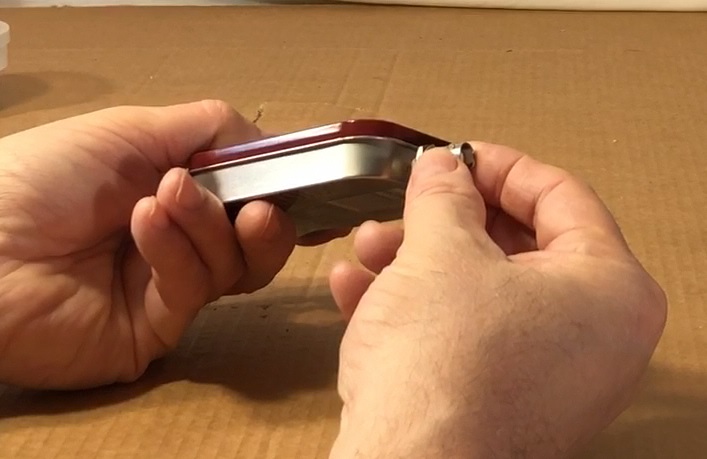
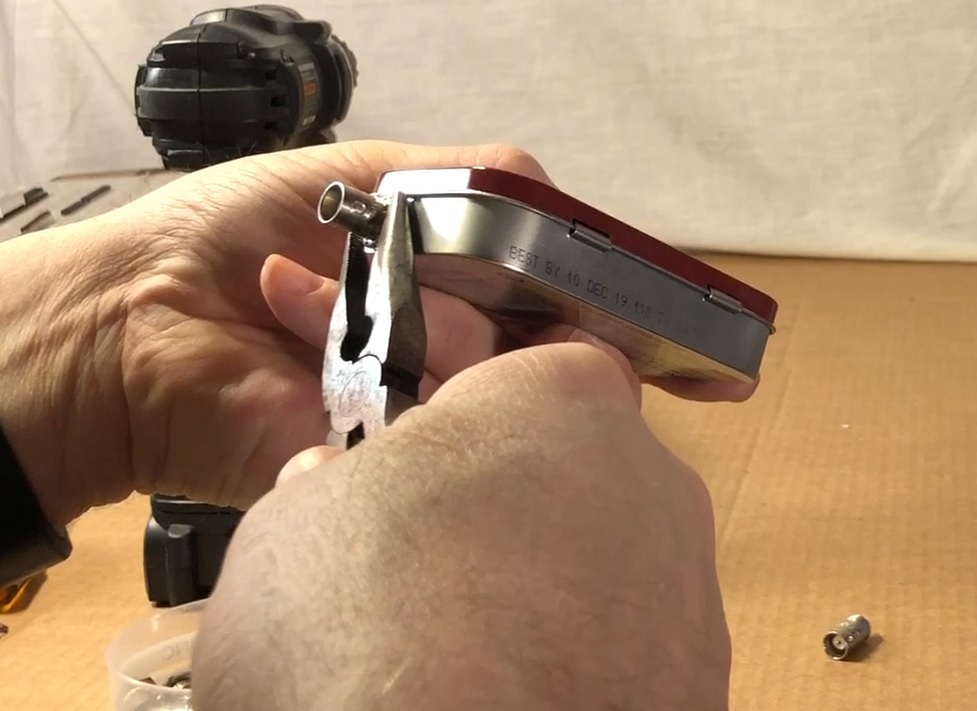
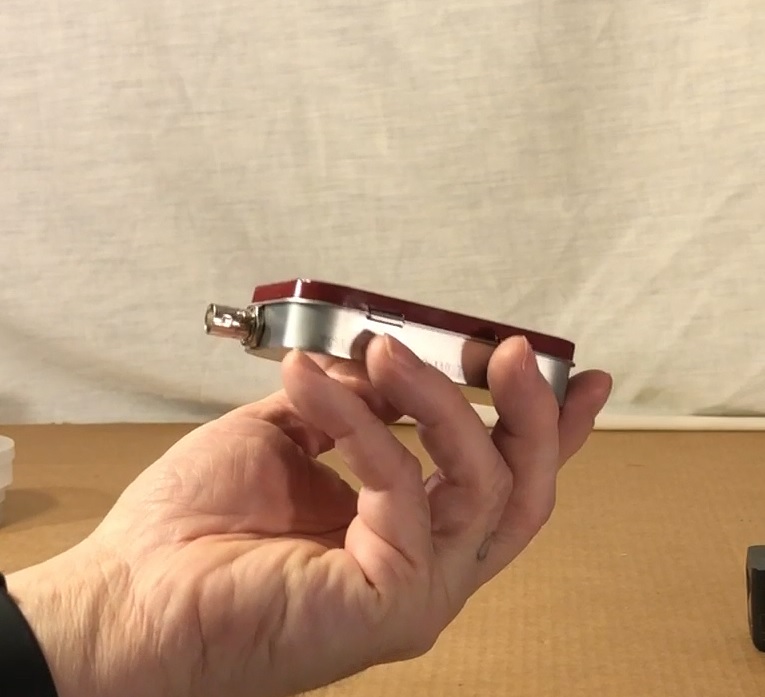
Rotate the outside of the BNC until there is a flat side at the top and bottom of the BNC, this will allow the lid to close
Turn BNC
The completed BNC should be turned like this
Open the Lid and install strips of electrical tape to cover all of the inside, this will insulate the installed circuit from the metal of the Altoids Tin
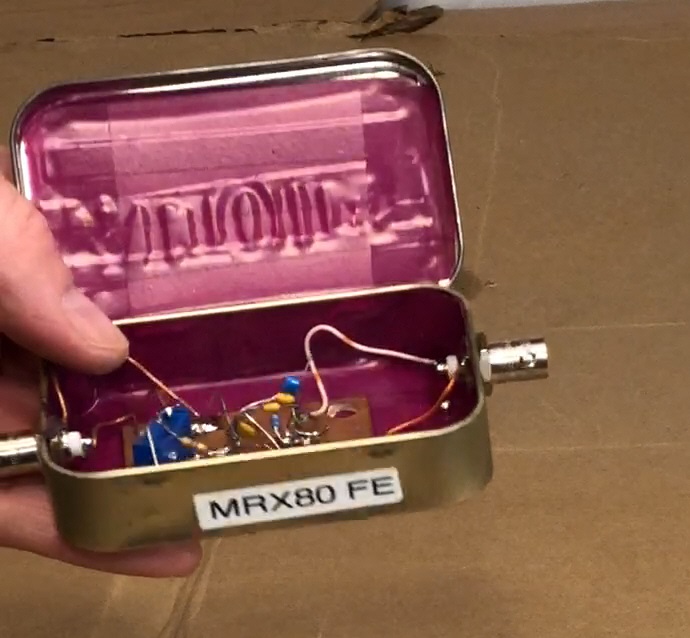
The Altoids Tin is complete and ready to have a circuit installed – I use hot glue to hold my circuit boards in place
Quick Video of the entire process
How To install a BNC in an Altoids Tin
![]()
