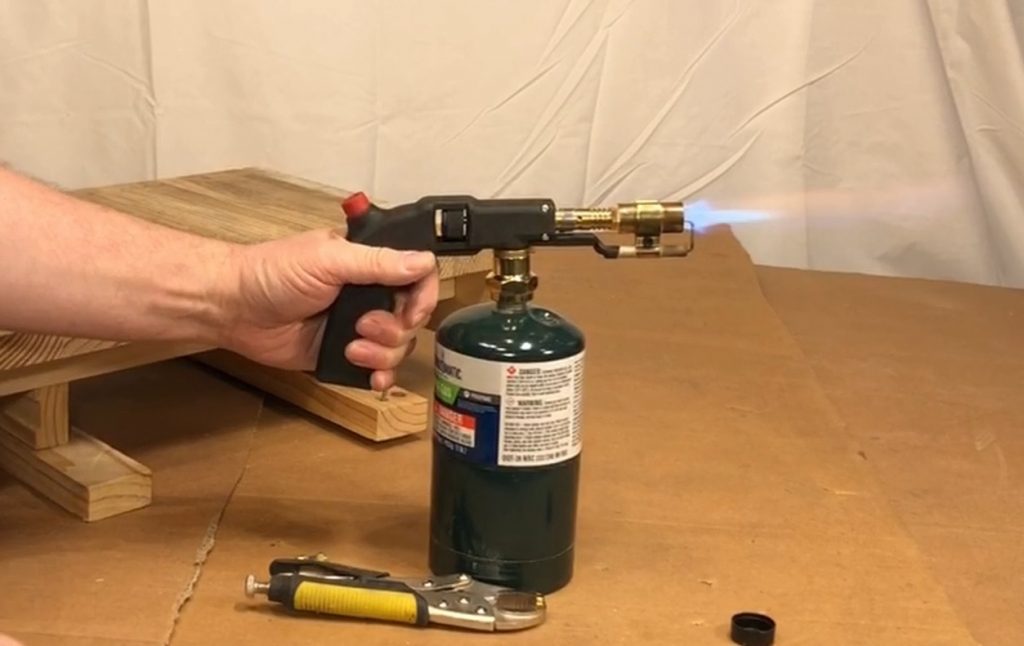
Build a DIY Project Coffee Can Forge
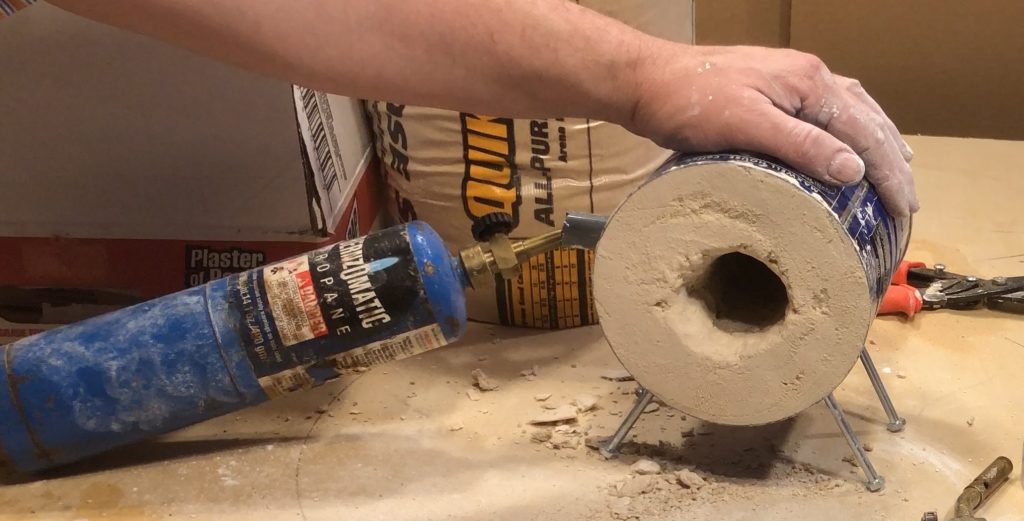
I decide to build a small coffee can forge to heat treat metal
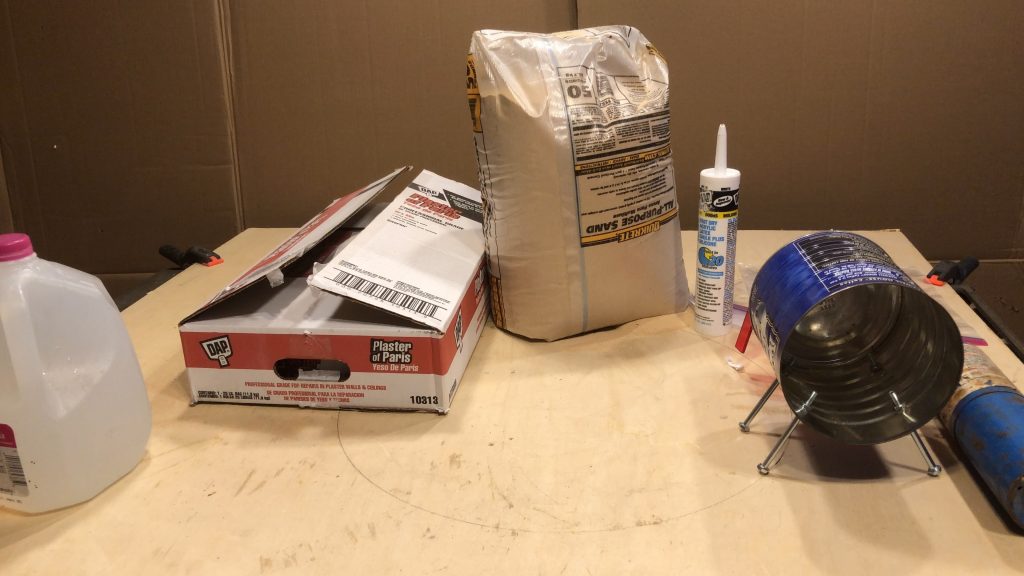
I gathered the raw materials
1 – Coffee Can
2 – Propane nozzle/tank – plumbers type
3 – Plaster of Paris
4 – Sand
5 – center hole shape – tube of caulk
6 – 4 bolts – 1/4x20x5 inches for legs, with 8 nuts
7 – 3 inch piece of hollow steel broom handle for torch installation
All the Parts to Assemble the Coffee Can Forge
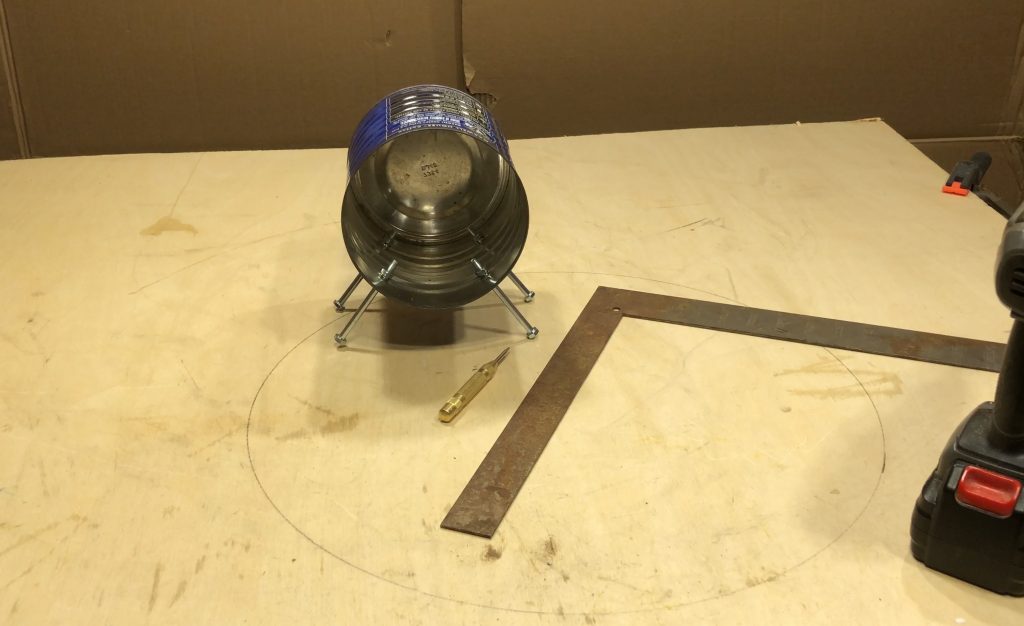
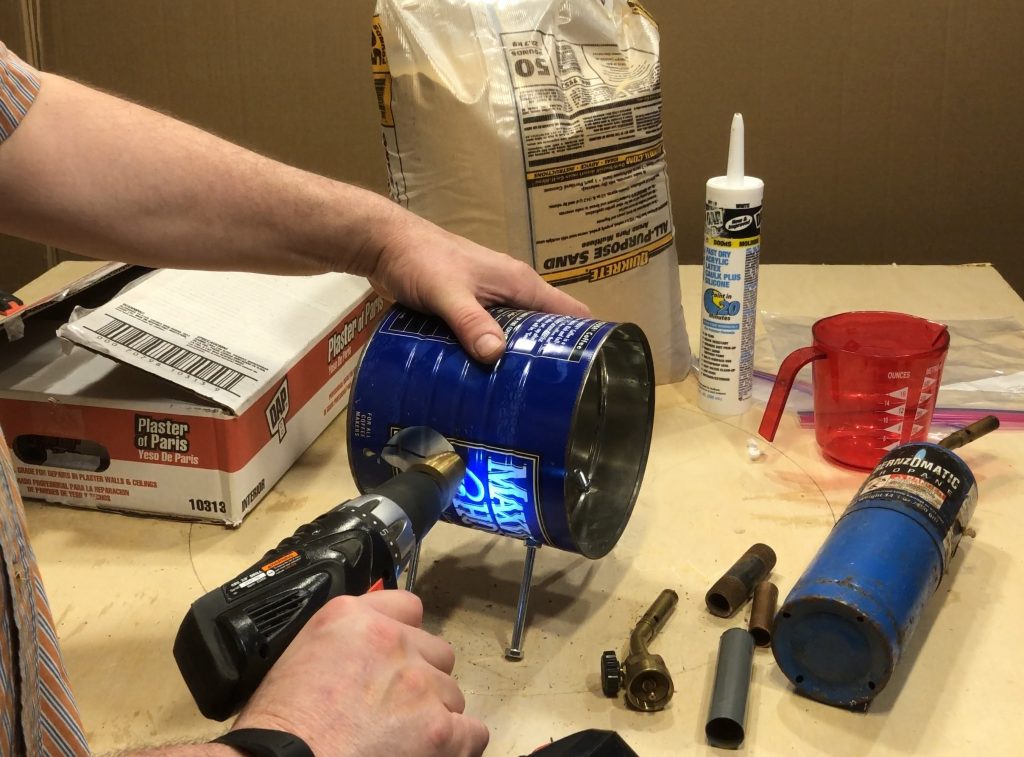
I drilled holes in the coffee can and installed 4 bolts for legs
I also drilled the hole for the torch in the side of the can, big enough for the broom handle to be installed -this is the torch inlet
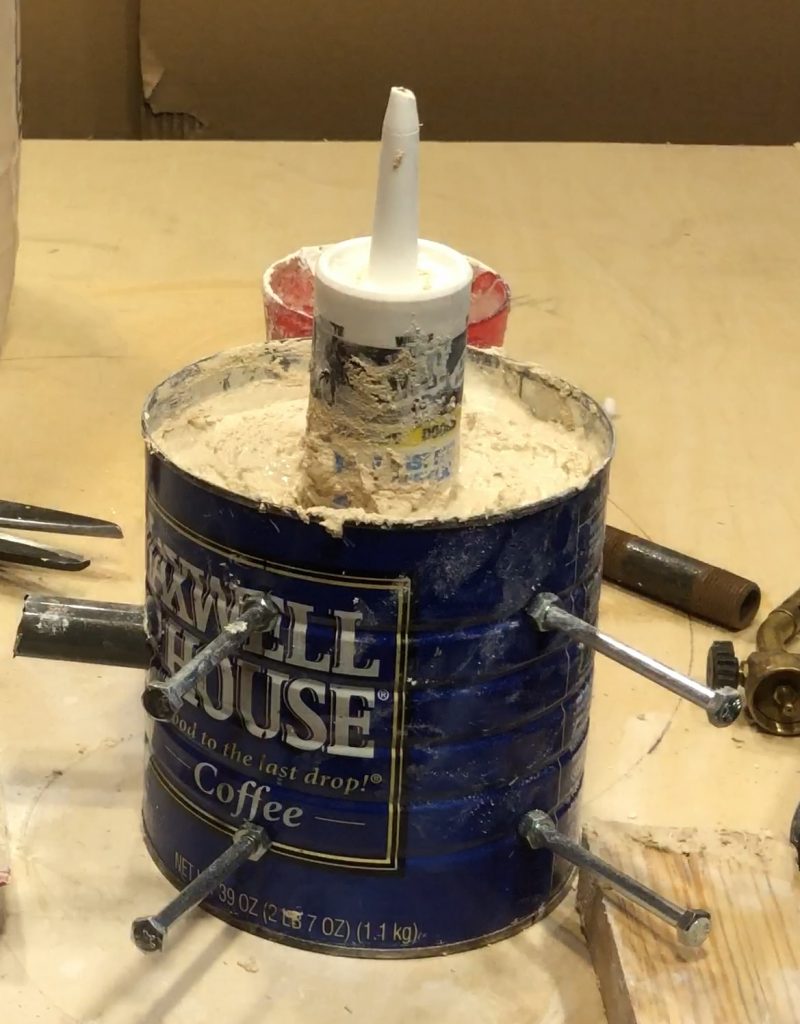
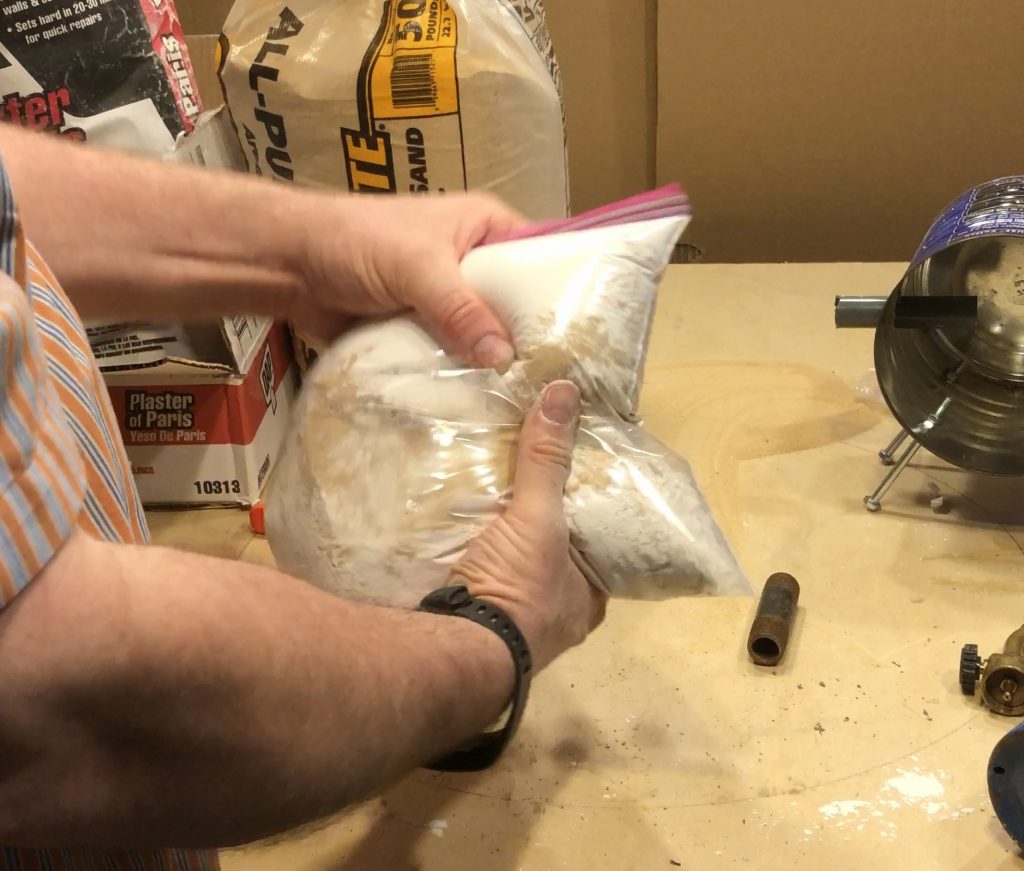
I mixed up a 1/2 and 1/2 mix of sand and plaster of paris and added water until has a very thick mixture
I inserted the caulk tube into the center and filled up the can
Then pulled out the caulk tube – very very difficult – I should have used something that could be taken apart
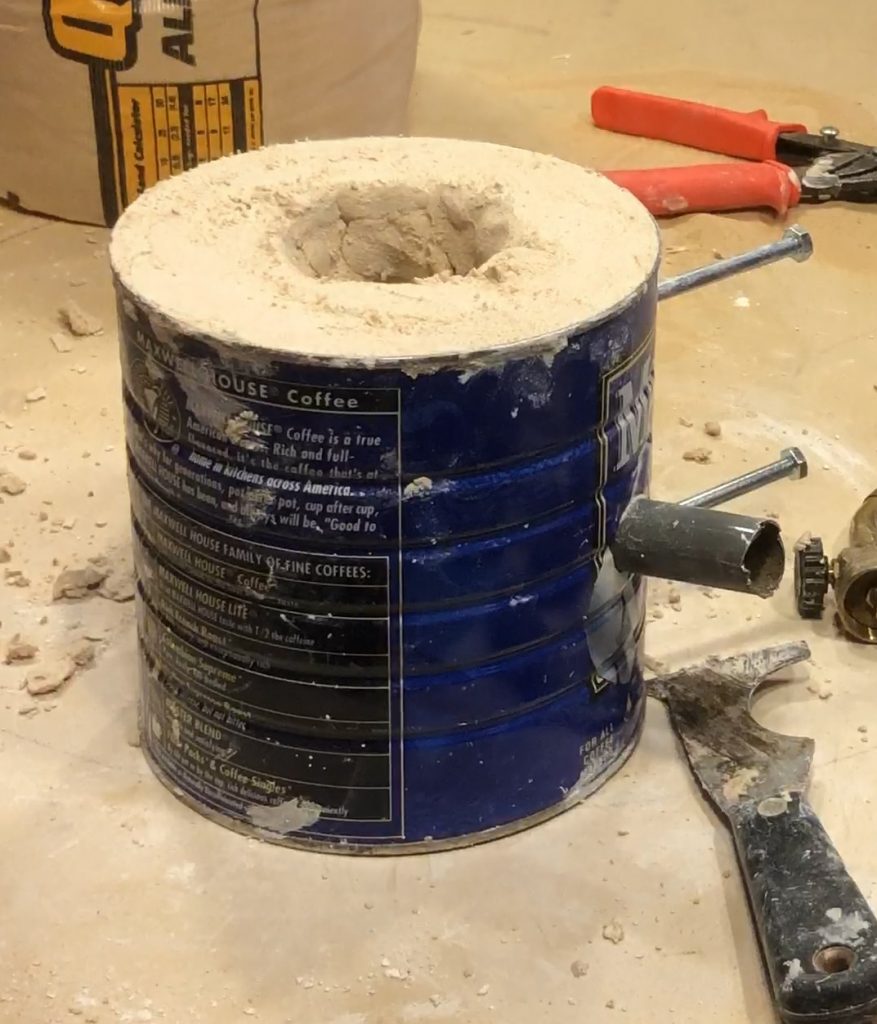
Finished product
I left the completed forge sit for a week to dry before using
I lit the torch and inserted the nozzle in the torch inlet – the torch immediately when out

Turns out the nozzle would not get enough air going thru the tube to run, so I cut a hole in the bottom to insert the torch
Turns out, the plumbers nozzle was not the right one to use, so much for using what I had on hand!
So I picked up a welders torch at Harbor Freight – a really good one with piezo starter – MUCH better
If you want to use the torch with a 20# tank or larger
So using this torch thru the bottom of the Coffee Can, I tried heating up a saw blade to make is soft enough to grind down
Works Great! But I realized right away that I wanted something bigger and a little more permanent
Summary:
Was it worth the effort? YES
Things I learned:
Sand, Plaster of Paris and water turn into stone when mixed and dried
A plumbers torch is not good for this use
A welders torch works great
Quick Video of the entire process
Video to be added – updated 09/29/2022
Build a DIY Project Coffee Can Forge
![]()
