Building a Development uBitx Raduino
Overview
I have some ideas for customizing the uBitx for my use, the uBitx works great as shipped, but one of the best features of the uBitx is it being Open Source, and changes are encouraged
Ideas for customization I want to explore
I2C LCD interface
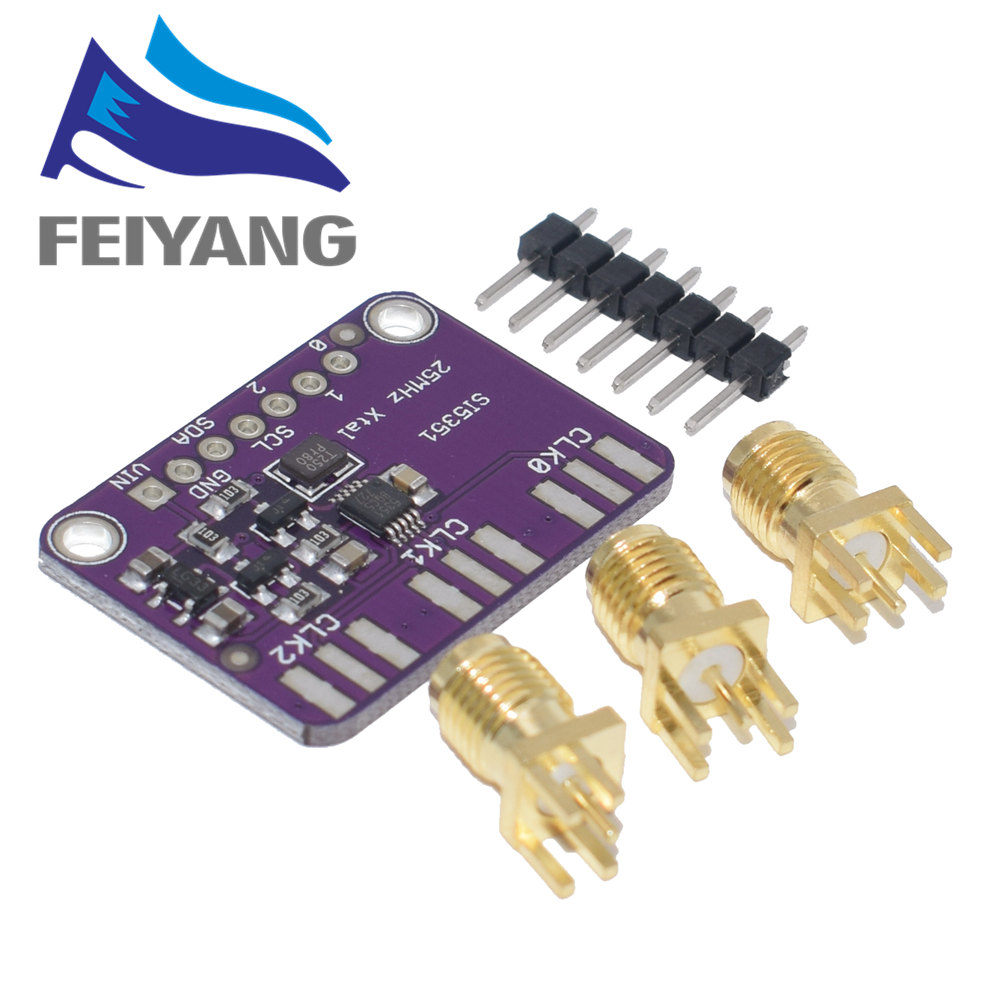
si5351 breakout board with I2C
Use with an Arduino UNO
Use with a Mega2560
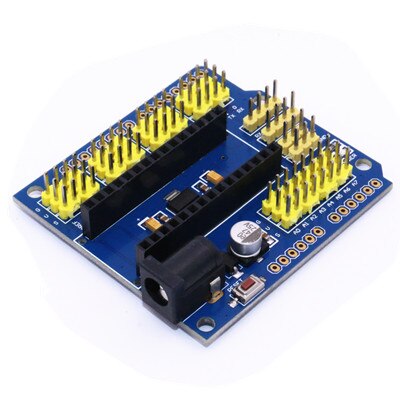
Interface Shield for Arduino NANO
2004 (20x4) LCD
12864 LCD
Integrated Tuner
Integrated SWR/power Meter
The Possibilities are Endless
I will probably spend more time customizing the uBitx then time spent on the air, there are so many possibilities to explore with the software
But, I also wanted the uBitx to remain available for use on the air while I am making changes to the Software, so I needed a DEV (development) system
Parts Needed for Arduino DEV System
A separate DEV system will allow me to make and test changes without affecting my on air time with the uBitx
So I ordered some parts
1 Nano
1 si5351 Breakout board
1 Nano I/o Board
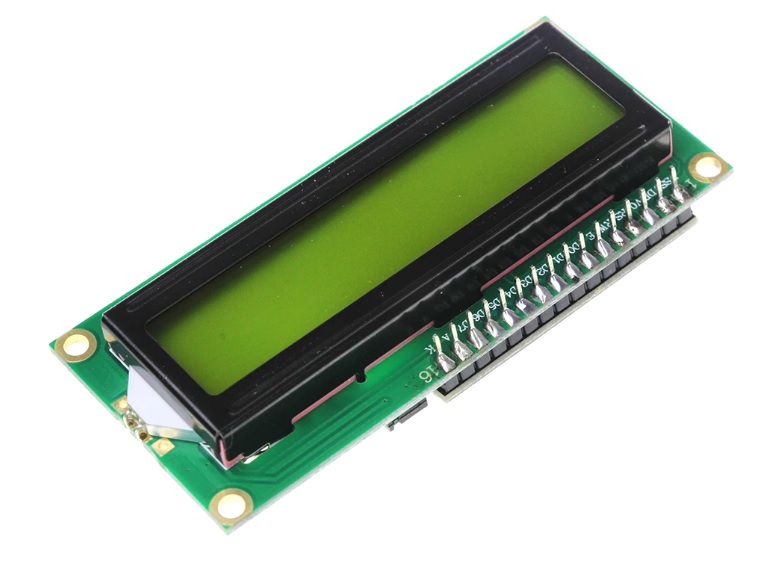
1 1602 LCD with I2C Interface
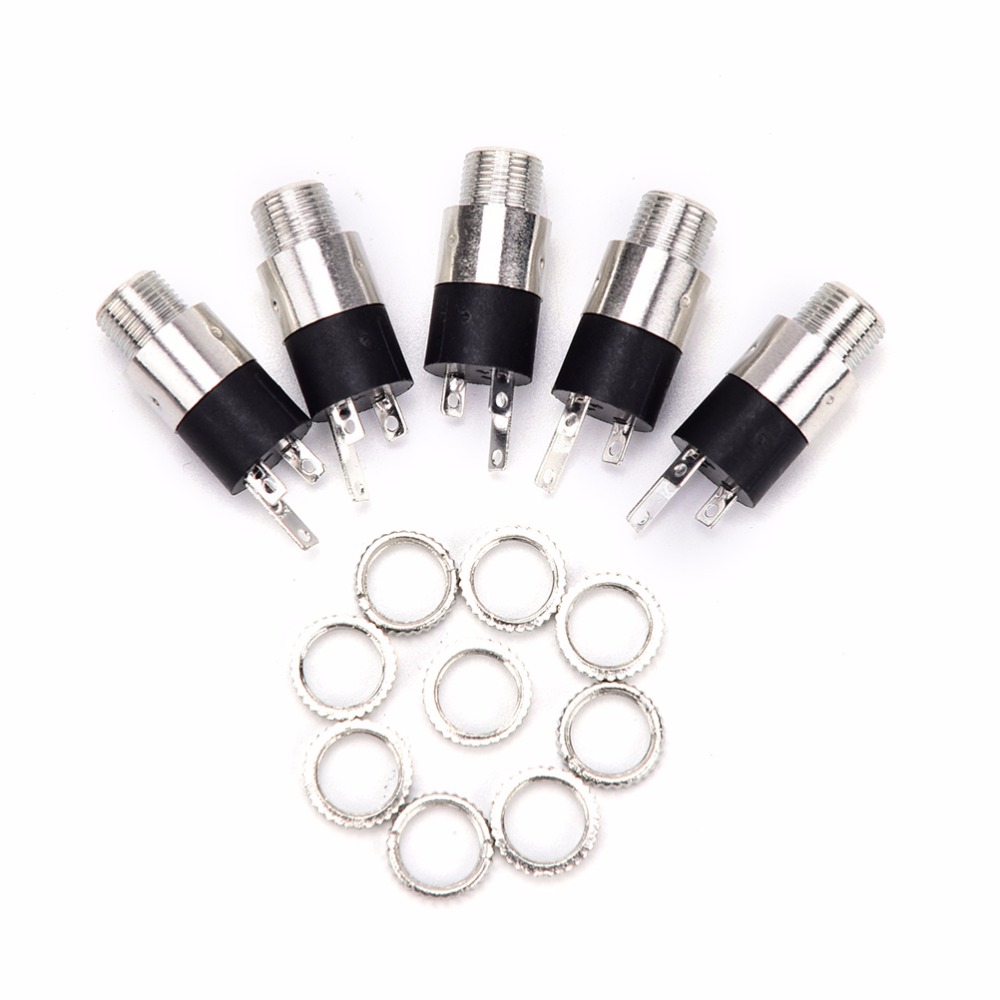
1 3.5mm Stereo Jack
The Nano I/O Board
Since this is a DEV board, I will be connecting various devices to the Nano, the I/o board breaks out all the Nano pins, and also provides duplicates of some pins
The duplicate pins for VCC, GND and I2C make is easier to attach several I2C devices to the board and power them
The most important pins on the I/o board are the I2C pins, There are pins for connection three devices via I2C to the I/O board
After I use one for the LCD and on for the si5351 board, I still have 1 left, very convenient
si5351 Breakout Board
This board allows easy interfacing to the si5351, with some important features over using an si5351 and building your own frequency source
Advantages of using the su5351 Breakout Board
All the components are on one board, no soldering required, no sourcing of additional components, like crystals, capacitors, voltage regulators
Onboard 5v to 3.3v converter – no need to use 3.3v
The si5351 breakout board features a 7 pin header, providing easy access to all function pins
+5v
+GND
+SCA
+SCL
+Oscillator 1
+Oscillator 2
+Oscillator 3
3.5mm Stereo Jack for Key
For those unfamiliar with the uBitx v5, this might seem strange……
But the uBitx v5 reads the keyer jack by reading the voltage on 1 pin, if that pin is 0, the system goes into transmit mode, this is not desirable
So I wired this 3.5mm jack for use with a straight key, and now there is not spontaneous transmit mode
The DEV system will not have RF Components for transmit, but the system going into transmit mode makes the menu system hard to navigate, and partially non-functional, so it is better to wire the key jack and not have this problem
1602 LCD with I2C Interface
I ordered a 1602 LCD with I2C interface for $2 including shipping from China
You have to wait 30-45 days to receive it, so plan ahead and be patient, Recently shipping time has been decreased by several week
The is an alternative, which is to buy a 1602 LCD without the I2C interface, and add the I2C interface yourself
Video of the assembly of the Nano Development System for the Ubitx v5 Raduino
Building a Development uBitx Raduino
![]()


